r>
r>
Pen Making Process
Process Step 1 - Material Selection:
Material is selected from various sources. As the picture shows; a cut and dimensioned board of Padauk, a branch from a Redwood tree, and a piece of stabilized Box Elder burl are representative of just a few sources of material. This pen will use the center Redwood branch for the demonstration.
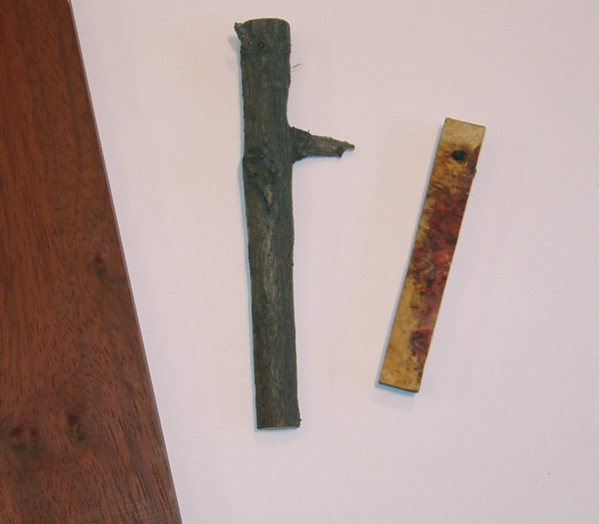
Click on any picture to enlarge it.
Process Step 2 - Material Properties:
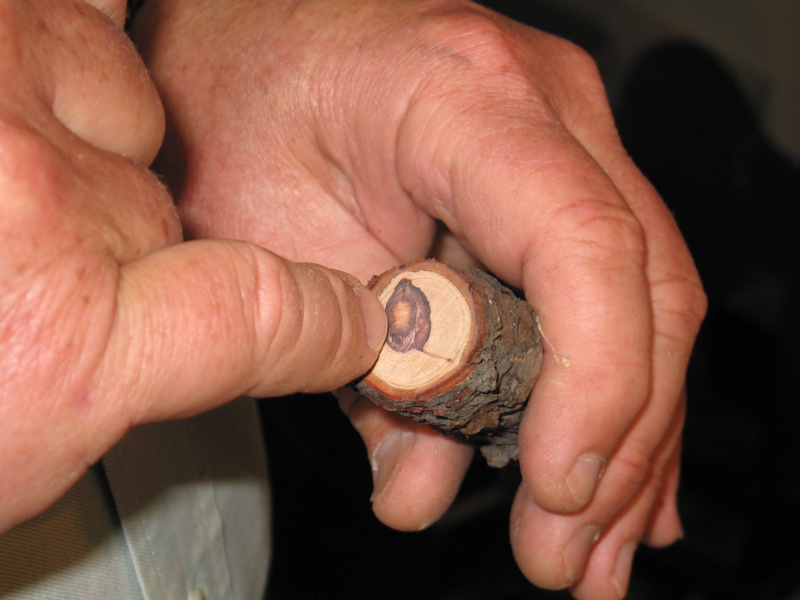
This is a cross section of the branch showing sapwood, the light colored outer wood, and the heartwood, the red inner wood. The beauty of the pen is determined by the interplay between these two elements.
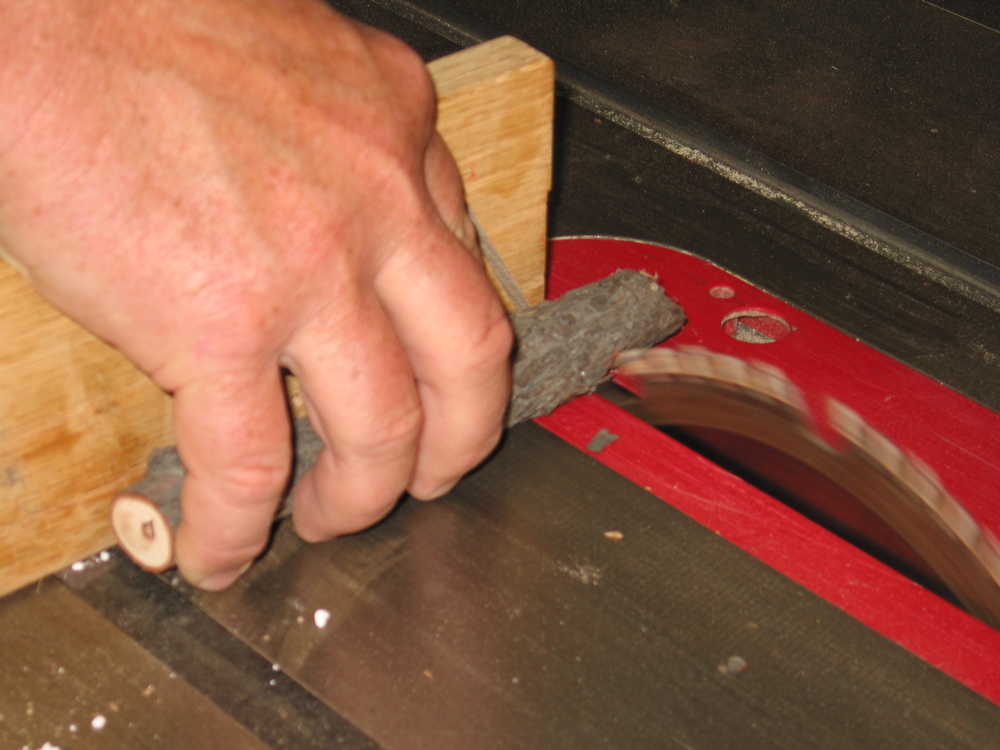
Process Step 3 - Cutting Branch to Length:
The initial step is to cut the branch into the two correct lengths.
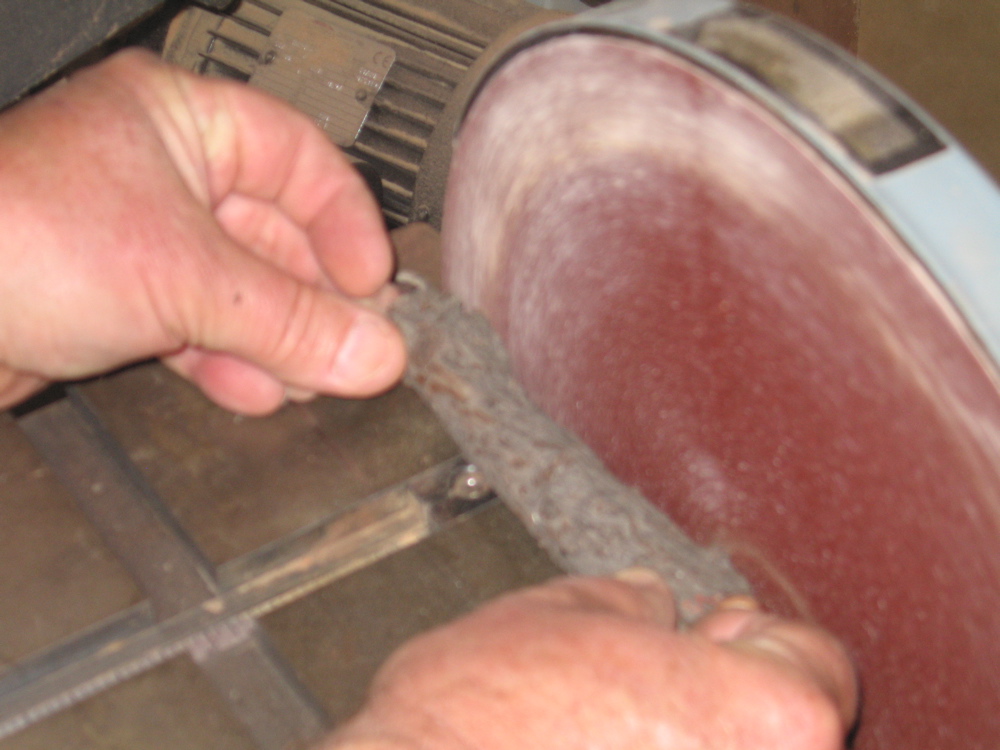
Process Step 4 - Rough Sanding Branch:
The branch is sanded to remove bark and any protruding side branches.
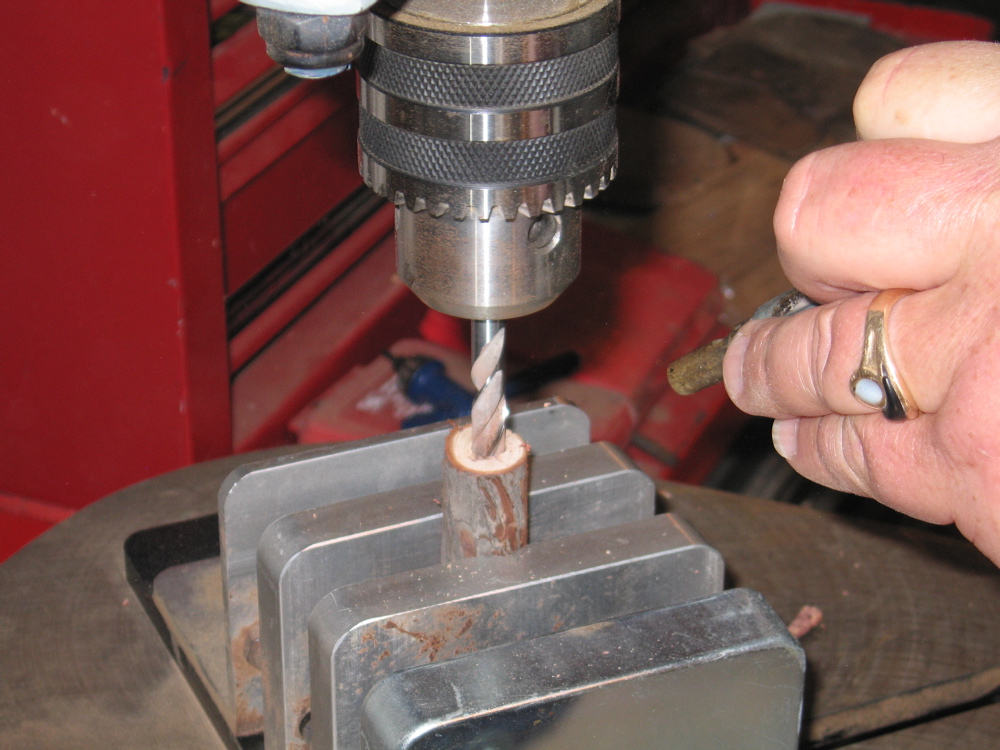
Process Step 5 - Center Drilling:
The correct size hole is carefully drilled down through each piece.
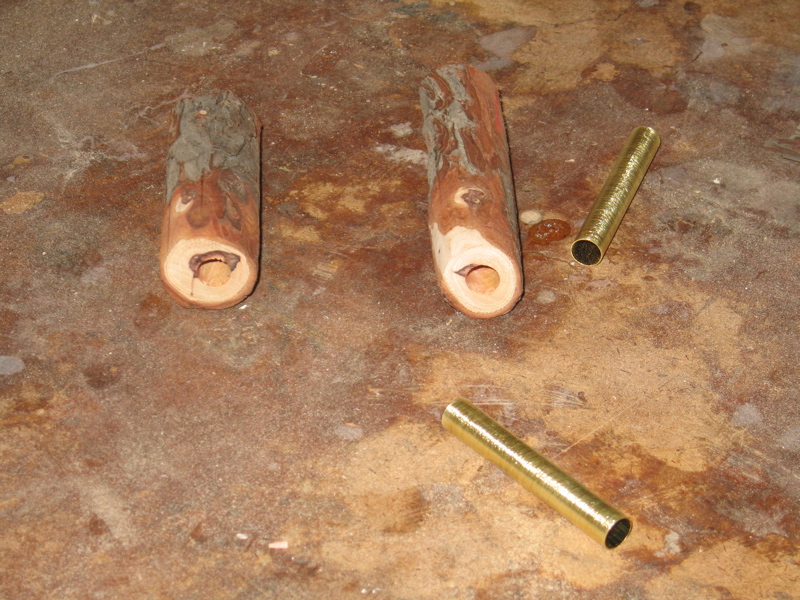
Process Step 6 - Brass Tubes:
Brass tubes are inserted with epoxy into the center of each half of the pen body. This gives the wood most of its strength for turning and assembly.
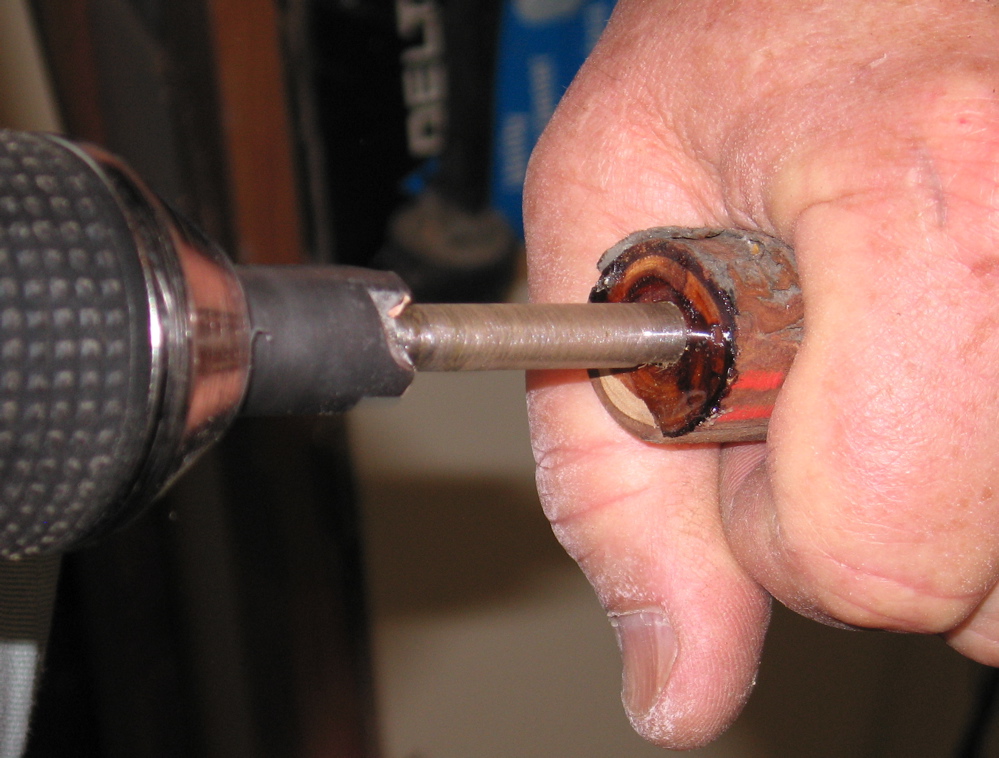
Process Step 7 - Square Ends:
A squaring tool is used to trim each pen to the exact correct length and give a square starting point for turning and assembly.
Process Step 8 - Mandrel Assembly:
Both halves are mounted onto a mandrel as preparation for turning. Note the red marks which are used so that the grain is later matched for assembly.

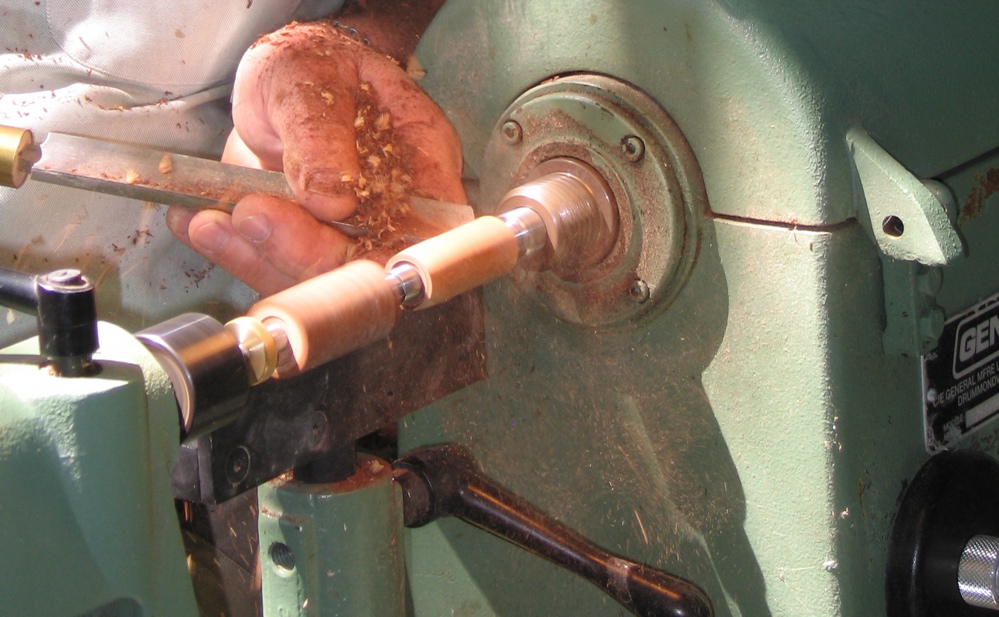
Process Step 9 - Turning:
The pen bodies are turned down to the correct size and shape on a lathe.
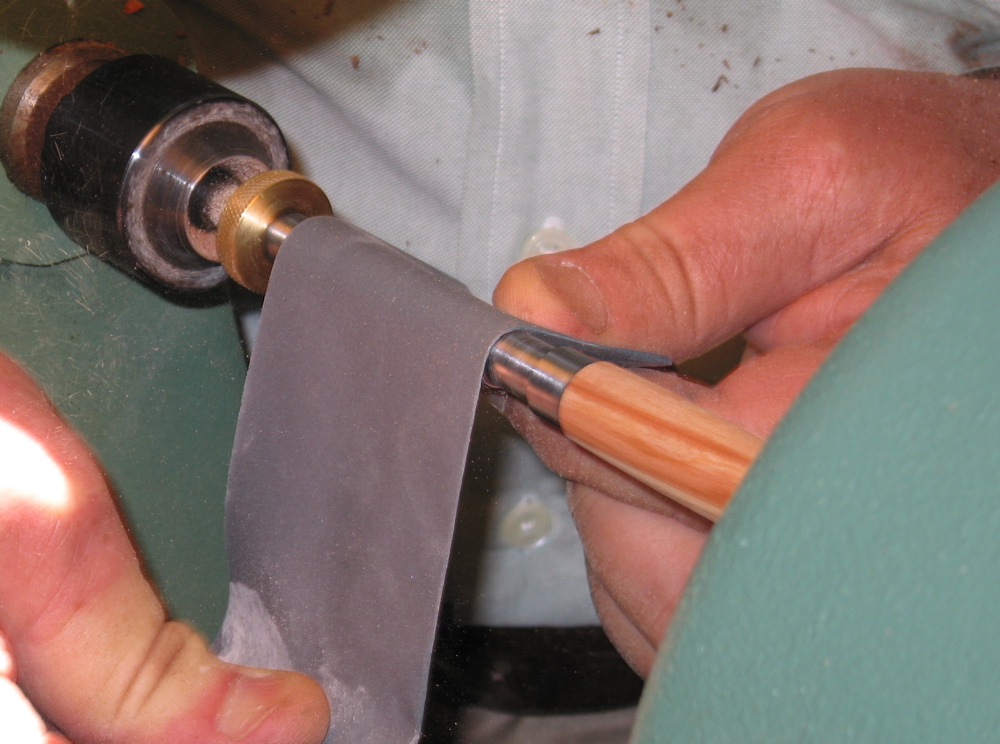
Process Step 10 - Sanding:
Four different grades of sandpaper are used to sand and polish the pen bodies.
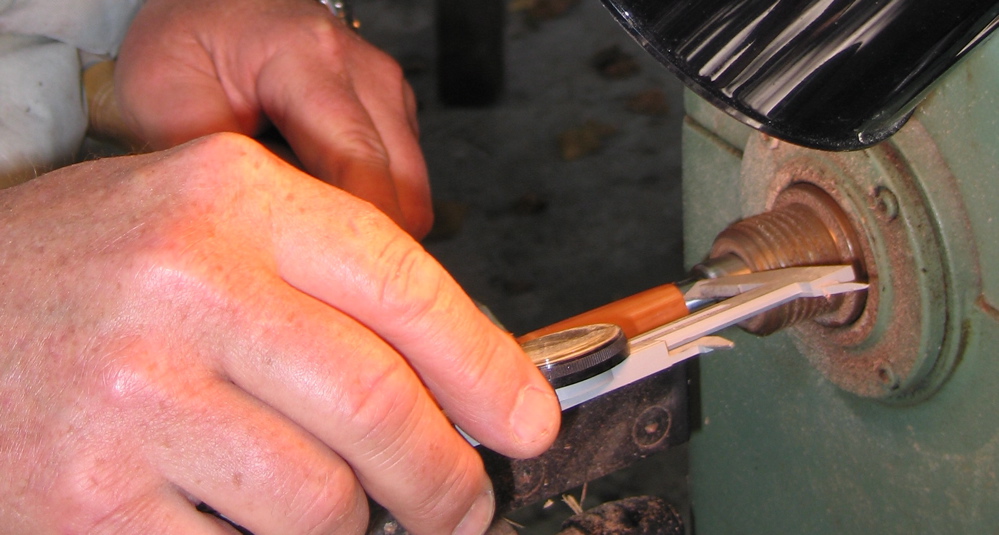
Process Step 11- Trimming:
The cap pen body is trimmed down to the correct length. A tolerance of .008 to .010 is required for proper fit.
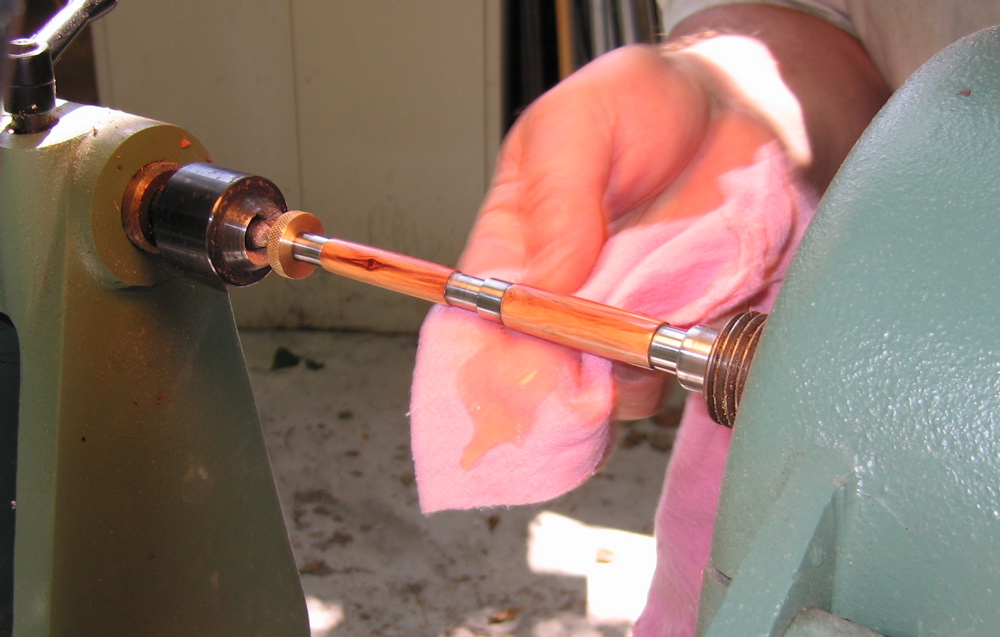
Process Step 12 - Wax and Polish:
Four different waxes and a final polish is used in a six step process to seal the wood and bring out its natural sheen.
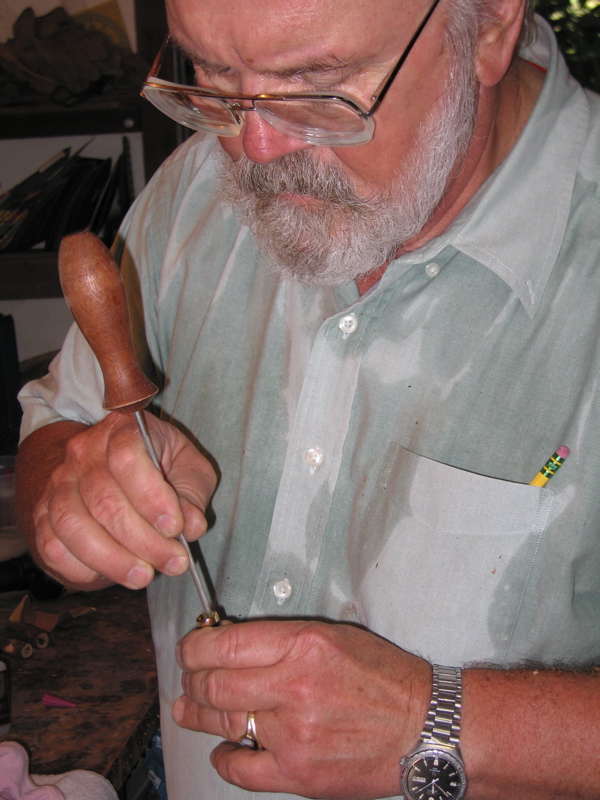
Process Step 13 - Gluing:
The pen bodies are removed from the mandrel. Each pen is hand assembled with glue and a pen press to give it a lasting conformity and durability.
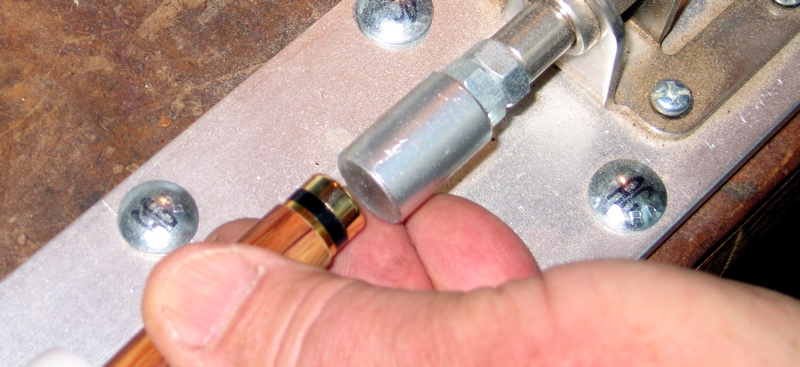
Process Step 14- Pen Press:
A pen press is used to glue and press the metal findings into the brass tubes inside each pen half for a tight and lasting fit.
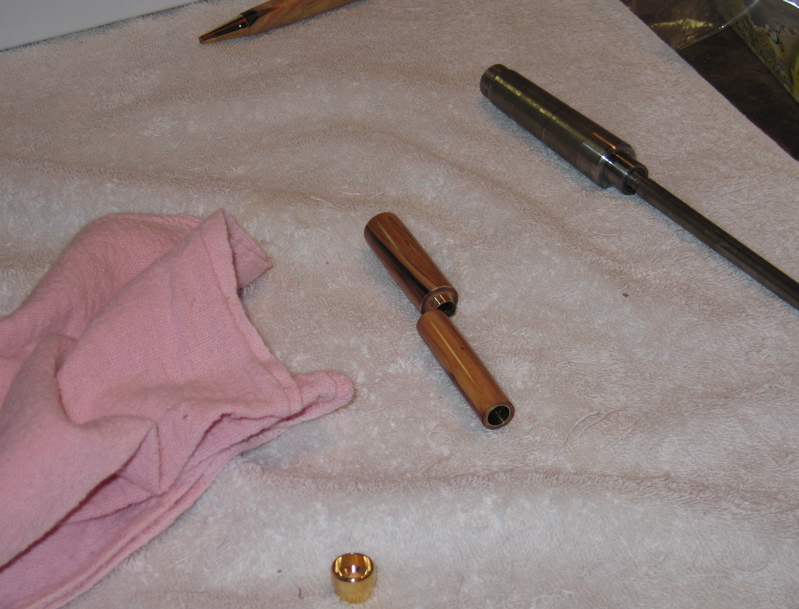
Process Step 15 - Test Fit:
All pieces are then test fitted and sanded and filed for correct action and mechanical movement.
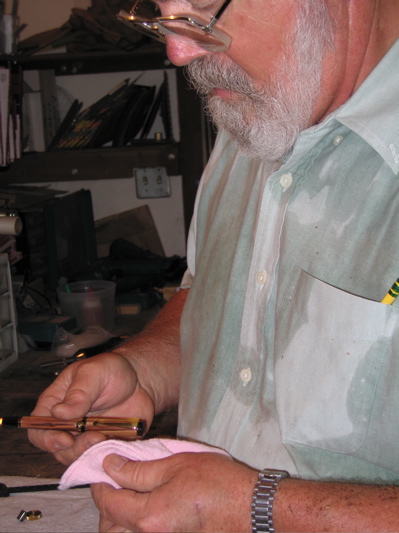
Process Step 16 - Final Assembly:
The pen halves are pressed together, the pen is tested and given a final polish.
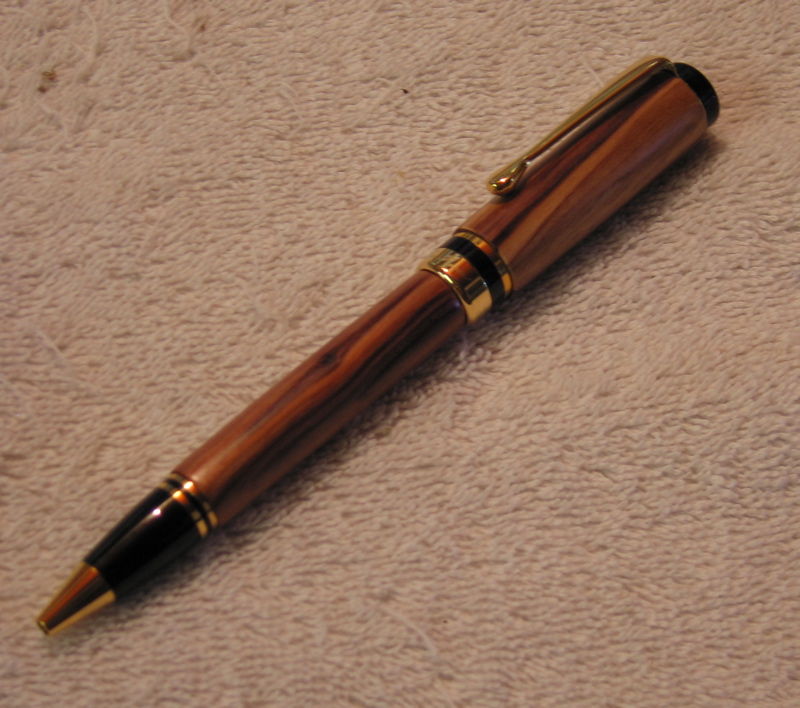
Process Step 17 - Final Pen:
Final American style ball-point pen using the Redwood branch as material.